Manage your devices
In this tutorial we show you the four most important actions for managing your VREEDA devices:
- Add a new device
- Perform a firmware update
- Rename a device
- Remove a device from the app
Add a new device {#add-device}
Here is how you add a new lamp to your VREEDA Lighting App:
1. Start the setup
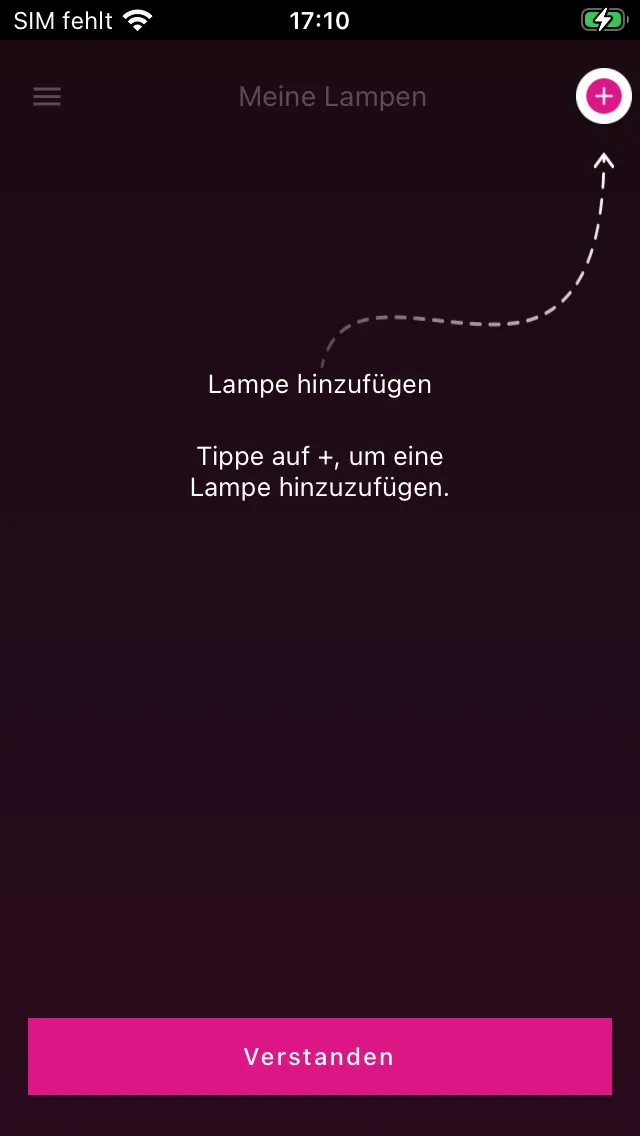
Open the VREEDA Lighting App. If you have not yet added a lamp, you will be directed straight to the ”+” button in the top right. Tap it to start the setup wizard.
2. Put the lamp into pairing mode
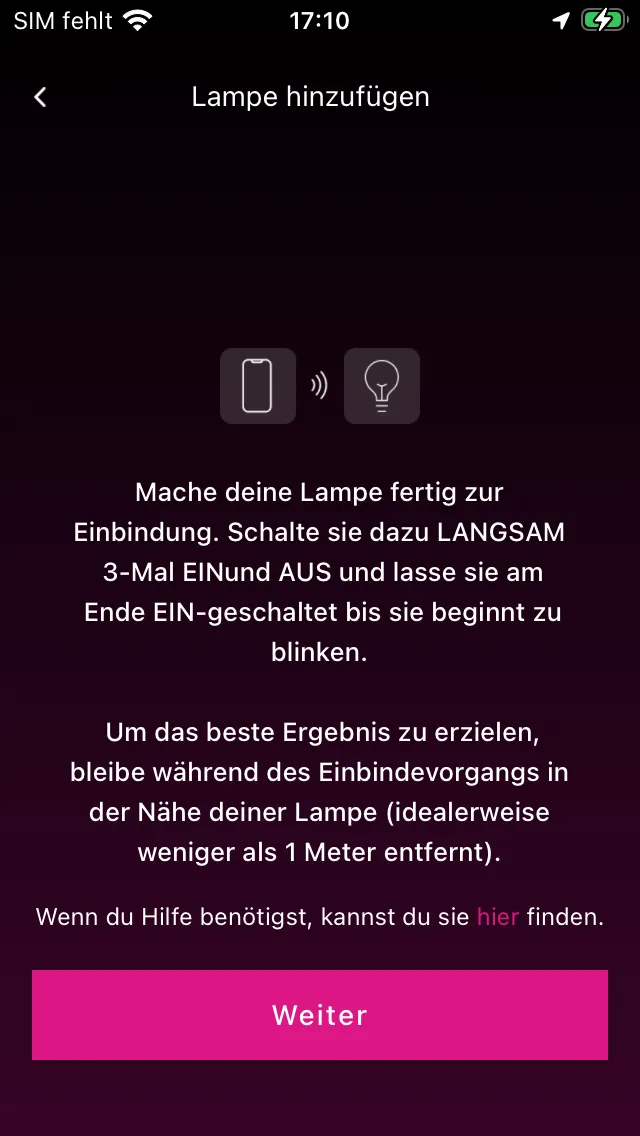
Switch the lamp off and on again at the power switch (or plug) slowly three times – “Off” and back “On”. On the third switch-on, leave it on – it should now start blinking, which means it is in pairing mode.
Important: Switch at roughly one-second intervals – not too fast. Each time, wait briefly until the lamp is really on before switching it off again. Do not use the infrared remote control for this; use the power switch or the mains plug instead.
Stay less than 1 metre away from the lamp with your smartphone during the pairing – this makes the Wi-Fi connection significantly more stable.
If the blinking does not work, the section Put the lamp into pairing mode in the article Troubleshoot Wi-Fi issues will help you.
Once the lamp is blinking, tap Next in the app.
3. Grant permissions
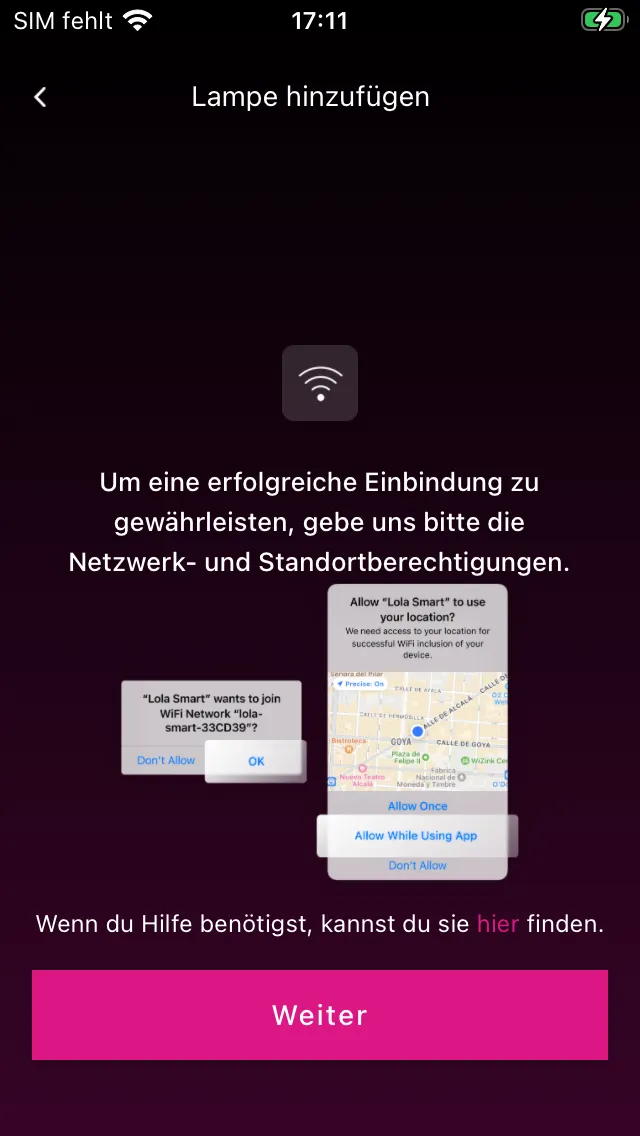
For a successful pairing the app needs network and location permissions. The system will ask you for them one after the other. Grant both permissions – without them the lamp cannot be connected to your Wi-Fi.
Why is location requested? This is a security measure by iOS and Android: without location permission, apps are not allowed to read the name of your Wi-Fi network. You can find more details at Why is location requested?.
4. Establish connection
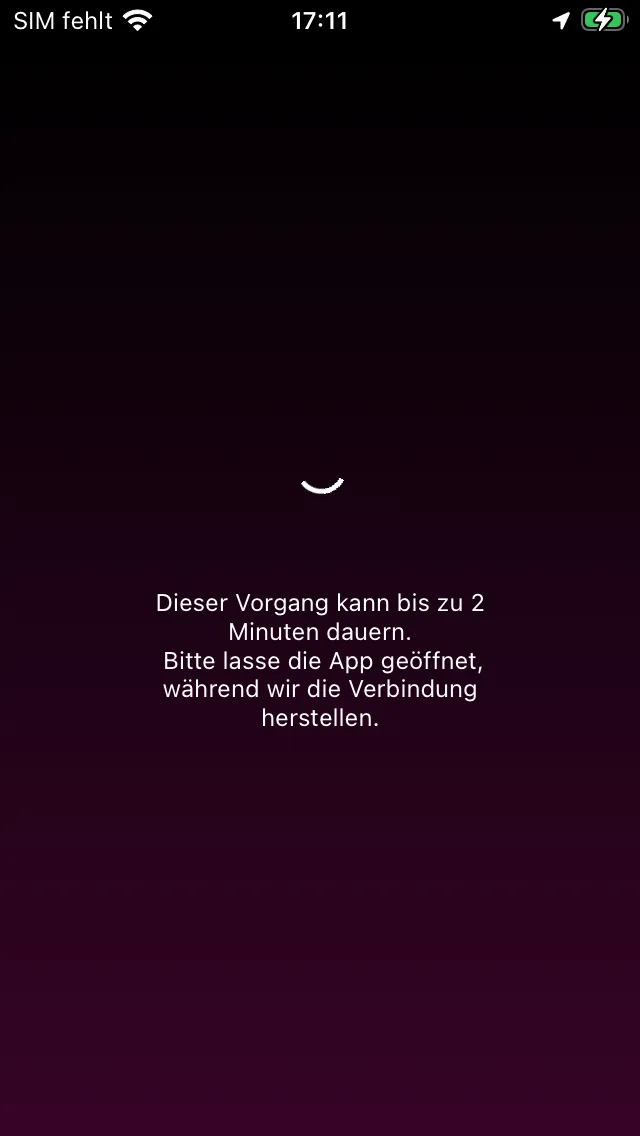
The app is now making the first connection to the lamp. This can take up to 2 minutes – make sure to keep the app open during this time.
In between, iOS will ask whether you want to connect to the lamp’s Wi-Fi (lola-smart-******). Tap Join.
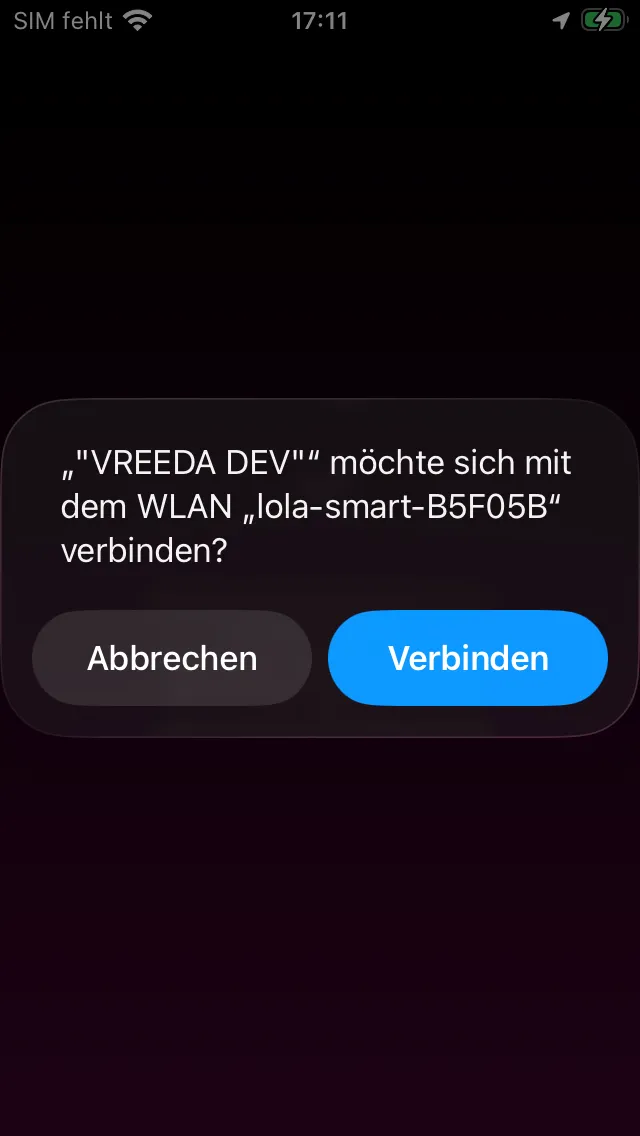
5. Confirm faster blinking
Once the connection is established, your lamp blinks faster than before. Confirm this in the app by tapping Next.
Is the lamp not blinking faster? Tap Try to establish the connection again and follow the instructions.
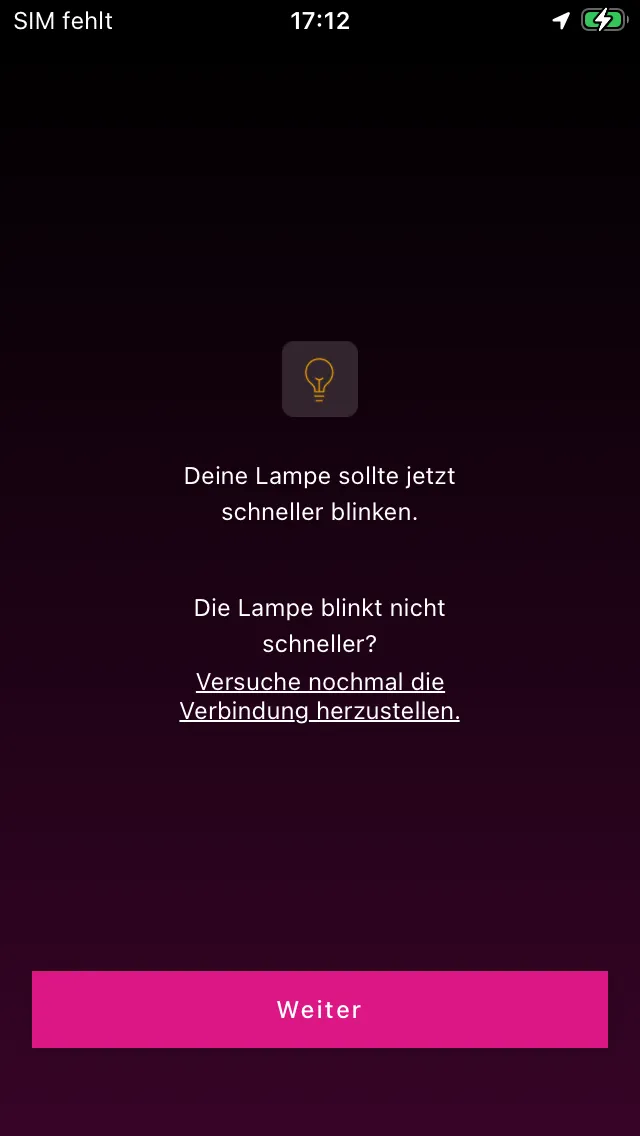
6. Select your home Wi-Fi
Select your home Wi-Fi from the list shown. If your network is not displayed, you can add it manually via Other….
Note: Metal lamp housings can significantly weaken the Wi-Fi signal and cause connection problems. If necessary, mount the lamp provisionally during pairing and move it into the target housing afterwards.
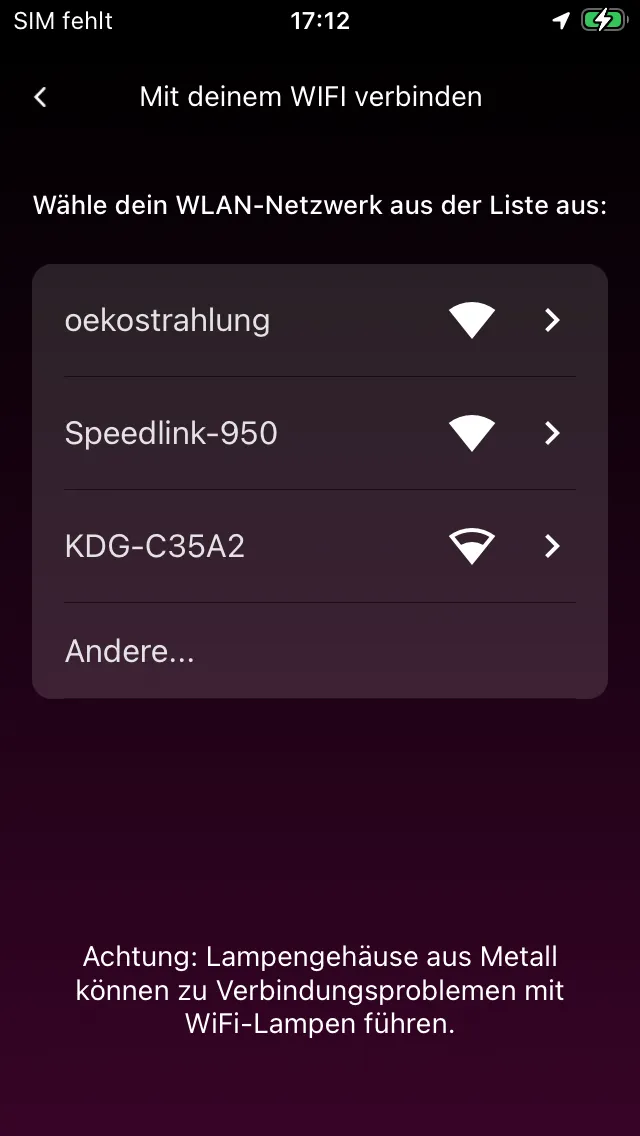
7. Enter your Wi-Fi password
Enter your Wi-Fi password and confirm with Next. Pay attention to upper and lower case. You can use the eye icon to reveal your input and avoid typos.
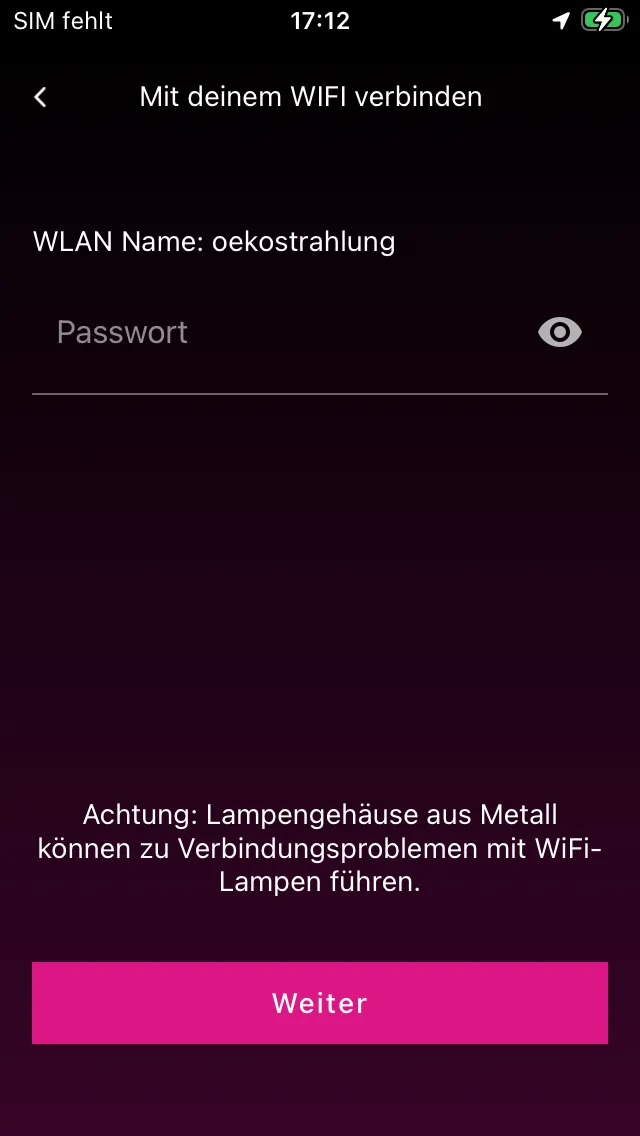
8. Successfully added
Congratulations – your lamp is now connected to your home Wi-Fi. The app finishes setting it up in the background. Tap Next.
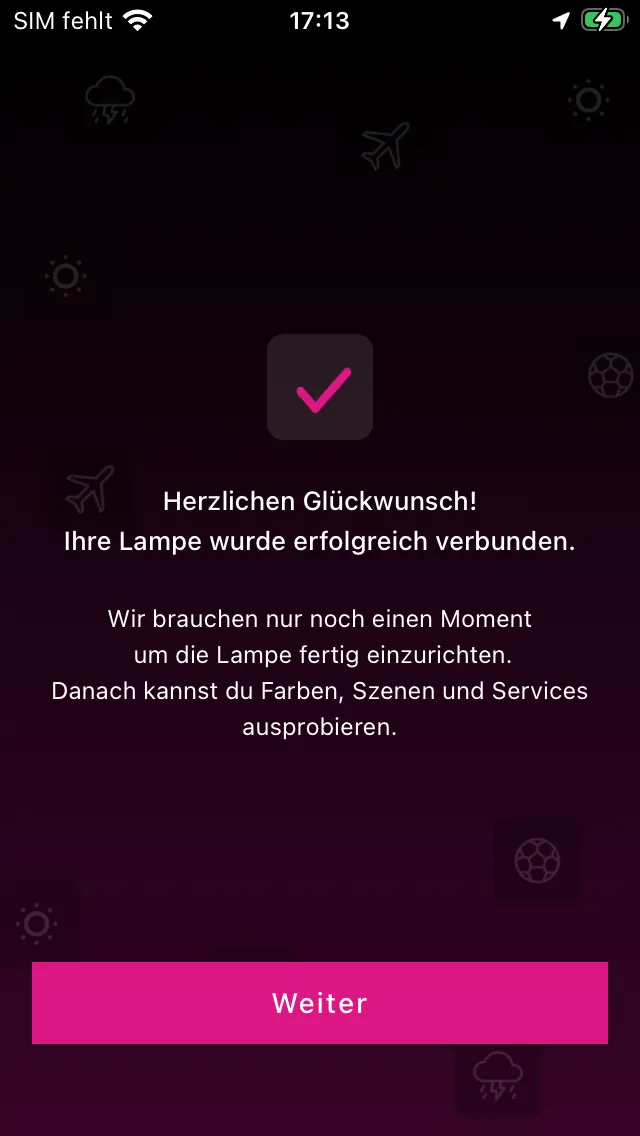
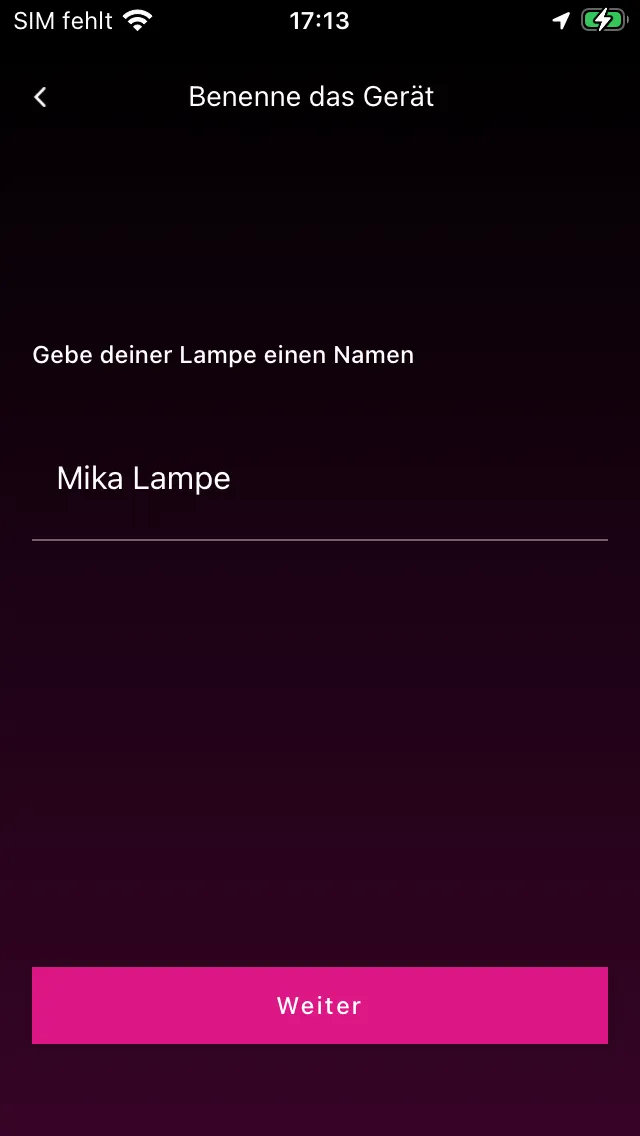
9. Name your lamp
Give your lamp a name that makes it easy to identify later – for example “Living Room”, “Desk” or, as in our example, “Mika Lamp”. You can change the name at any time afterwards (see section Rename a device).
10. Done
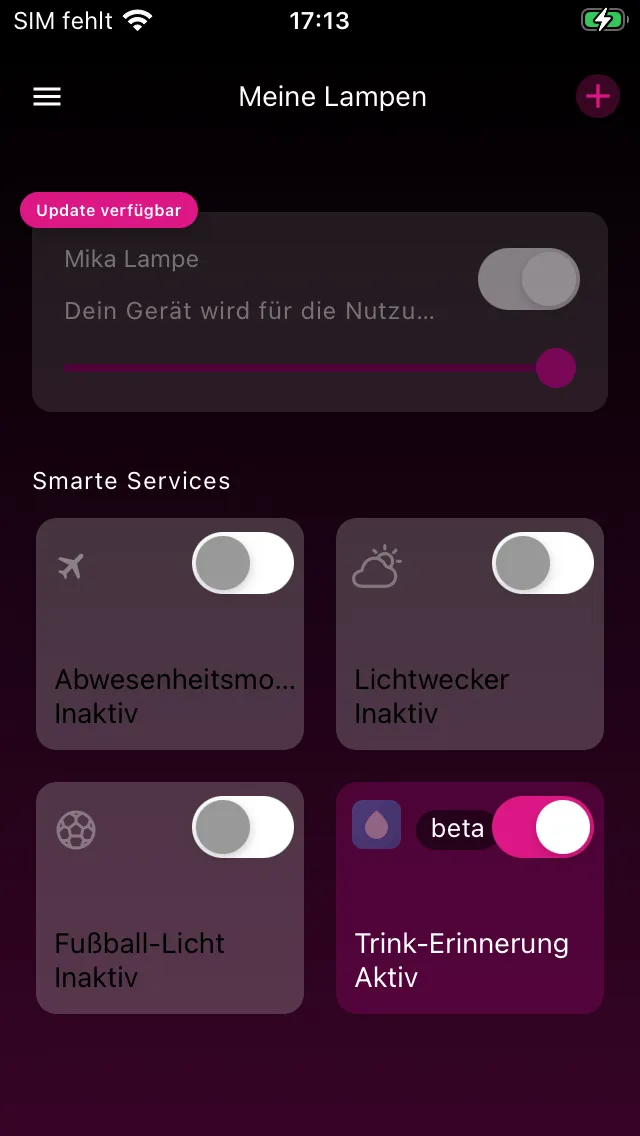
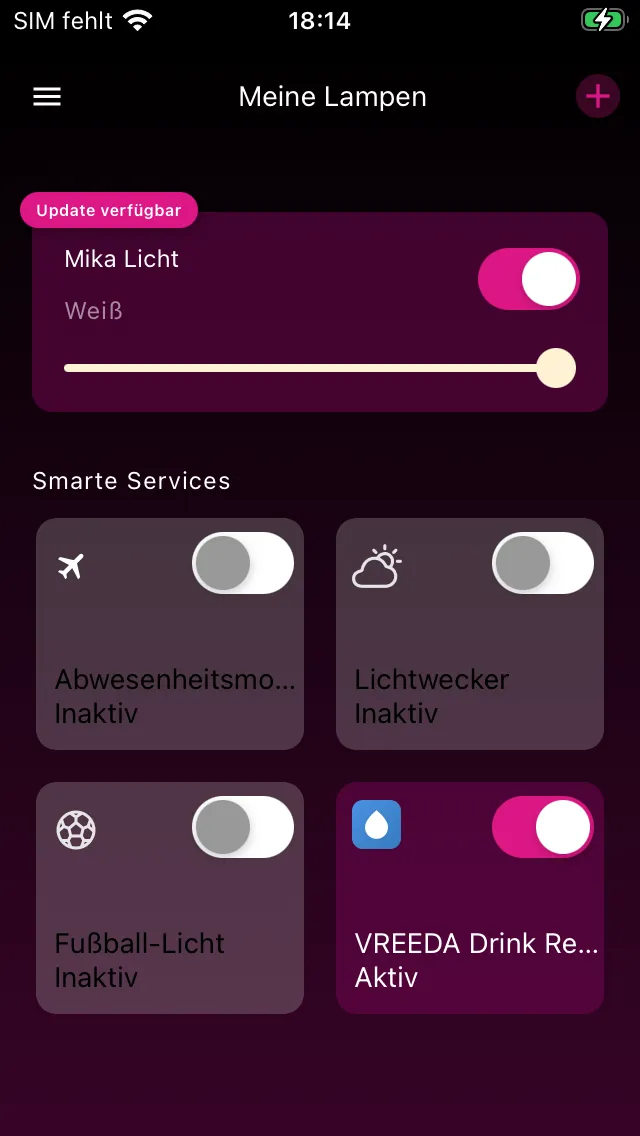
Your lamp now appears in the My Lamps overview. Below it you will find the Smart Services that are unlocked for your product – activate them with a tap if you wish.
It takes a moment after pairing before the lamp is fully ready to use – during this time the brightness slider is shown in grey. Once the lamp is active, you can switch it on and off, dim it and adjust colours via the app.
Perform a firmware update {#firmware-update}
We regularly provide new firmware versions for your lamp to introduce new features, improvements and security updates. Here is how you update your lamp:
1. Recognise the update notice
As soon as an update is available for your lamp, the My Lamps overview shows a pink “Update available” badge at the top of the lamp card. Tap the card to continue.
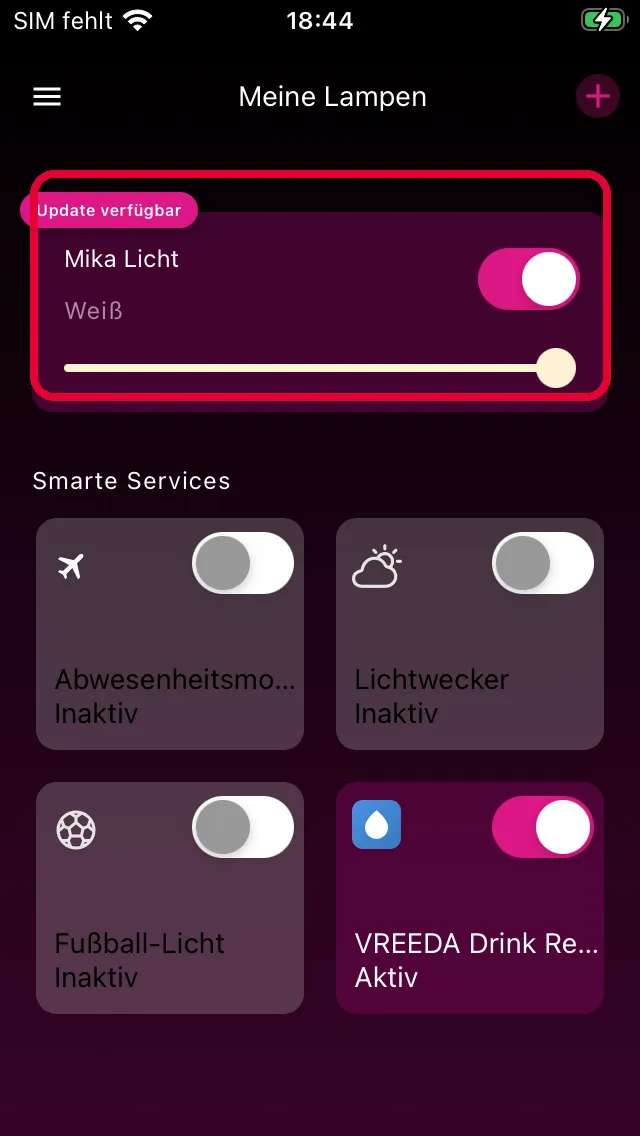
2. Update the firmware
In the detail view of the lamp, find the Update tab on the far left. There you can see the current version of your lamp and the available new version. Tap UPDATE FIRMWARE.
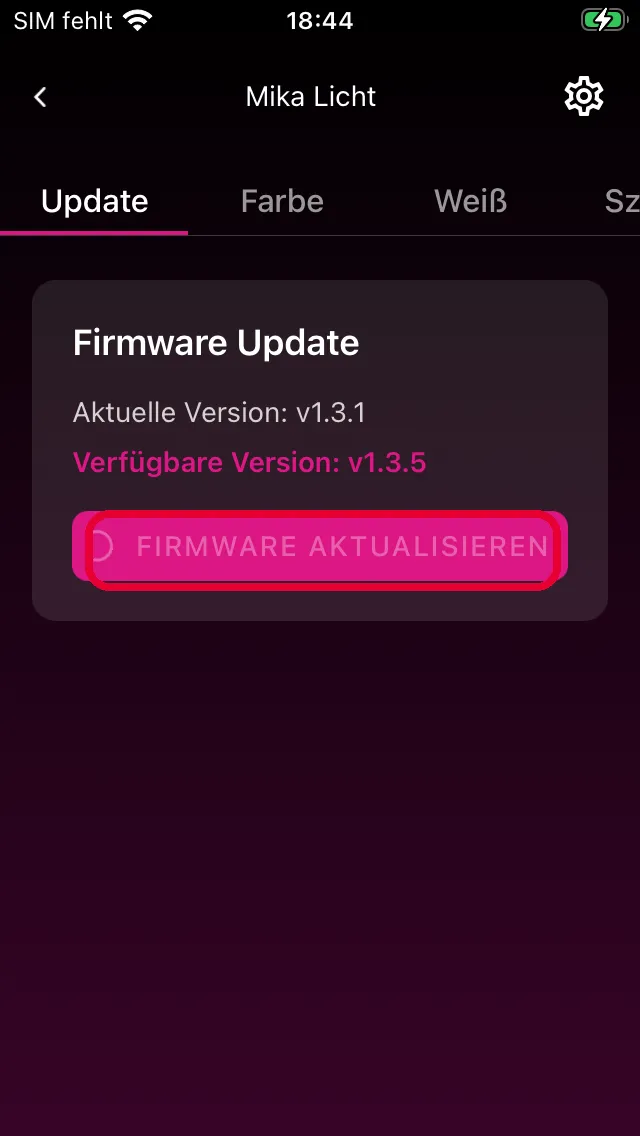
3. Wait for the update to complete
The process takes up to 2 minutes. The lamp switches to update mode, downloads the new firmware and installs it automatically. During the update the lamp blinks at irregular intervals – this is normal and indicates the progress.
Important: Keep the app open during this time and do not disconnect the lamp from the power supply.
Once the update is complete, the lamp restarts with the new firmware and you can use it as normal again.
If the update does not work
Occasionally an update may not complete on the first attempt – for example because a package was not transferred completely or the verification on the device fails. No need to worry: just try again after a few minutes. If it still does not work, please get in touch with us via the support section at the bottom of this page.
Rename a device {#rename-device}
The name you assigned during pairing can be changed at any time. Here is how:
1. Open the lamp
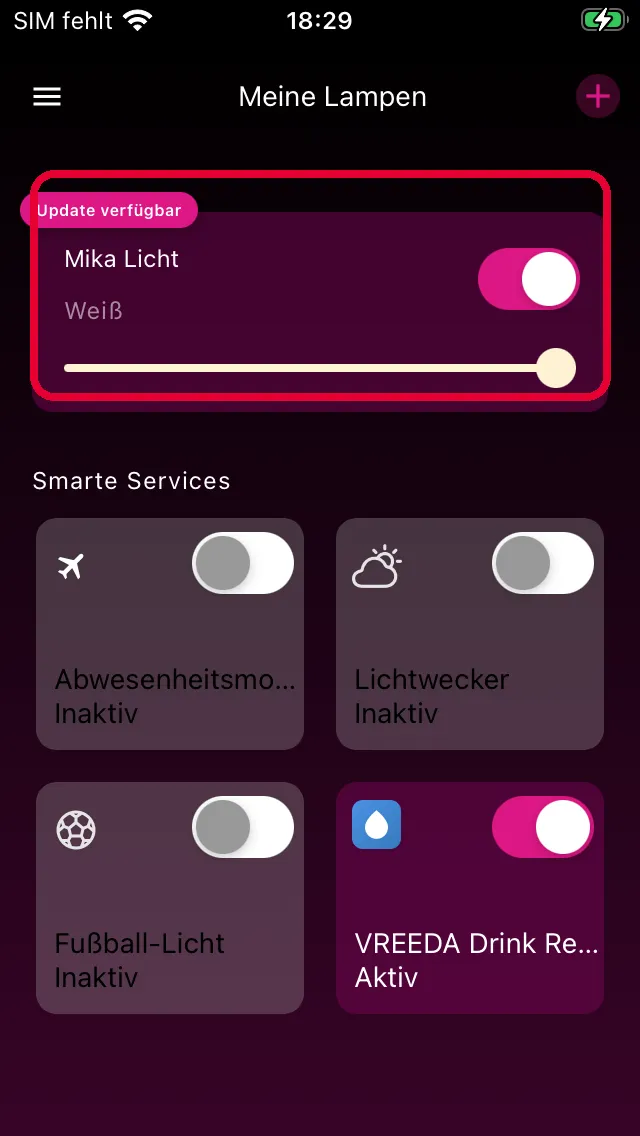
Tap the lamp whose name you want to change in the My Lamps device overview.
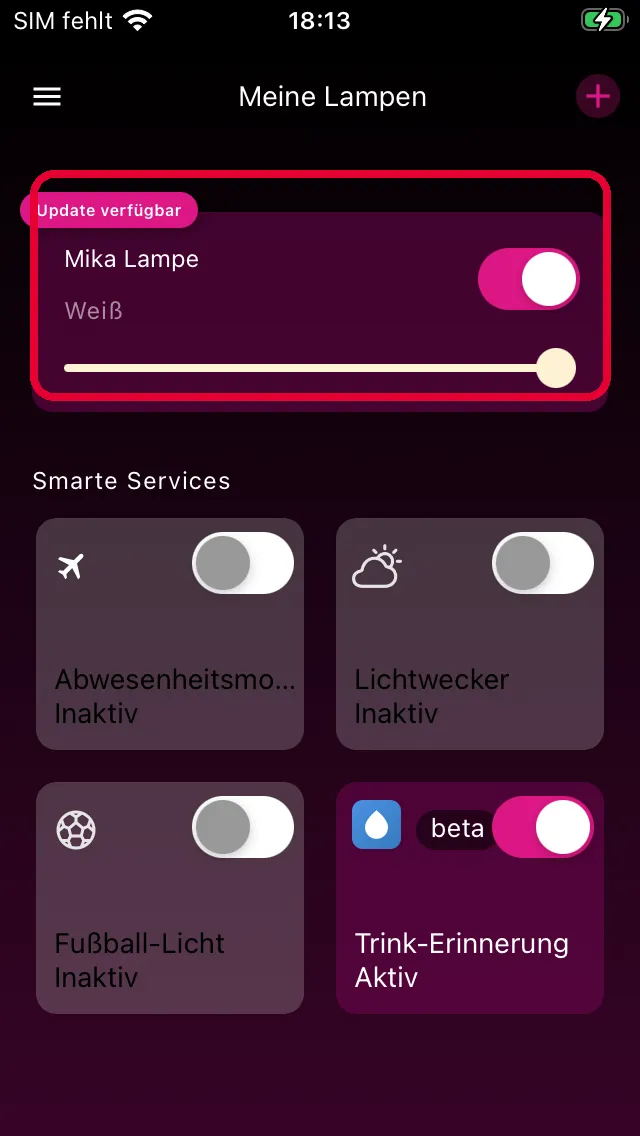
2. Open settings
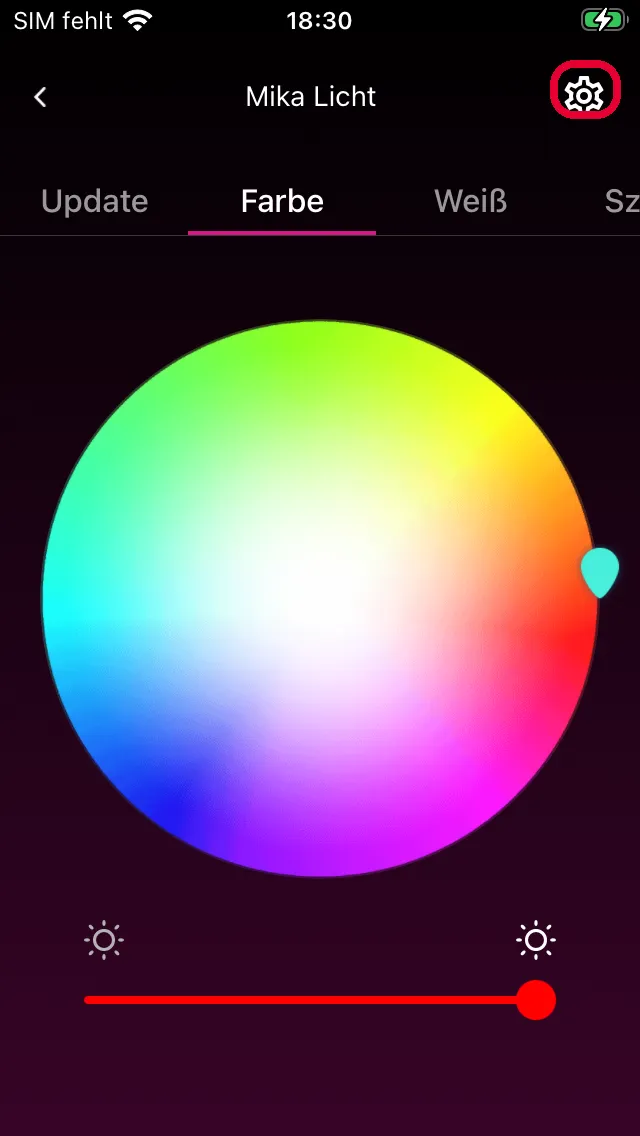
In the lamp detail view, tap the gear icon in the top right to open the device settings.
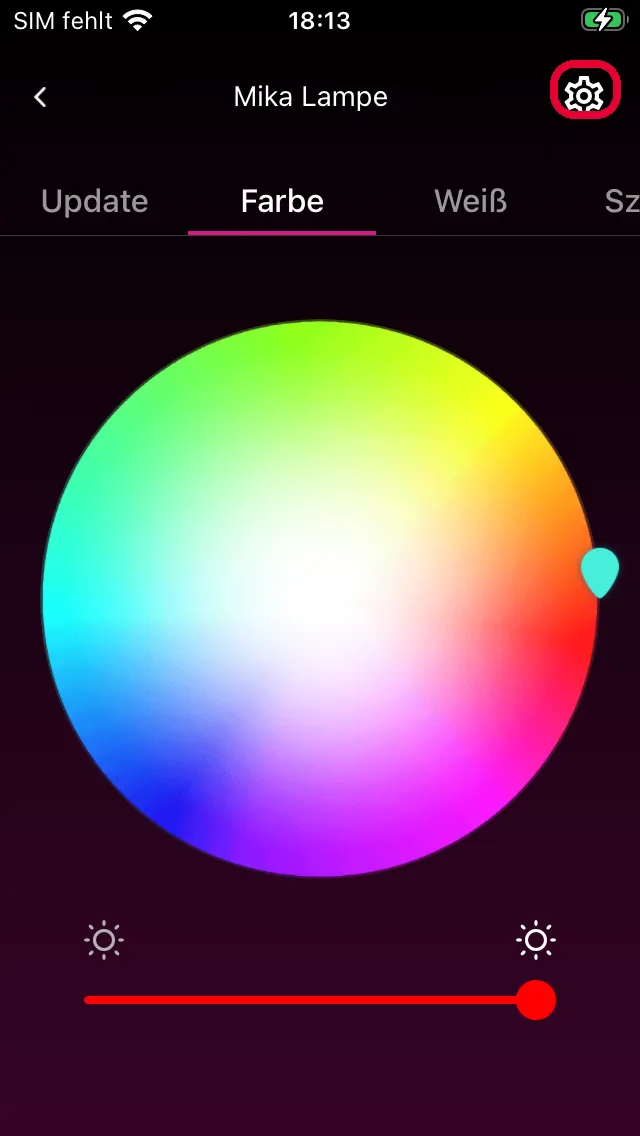
3. Tap the device name
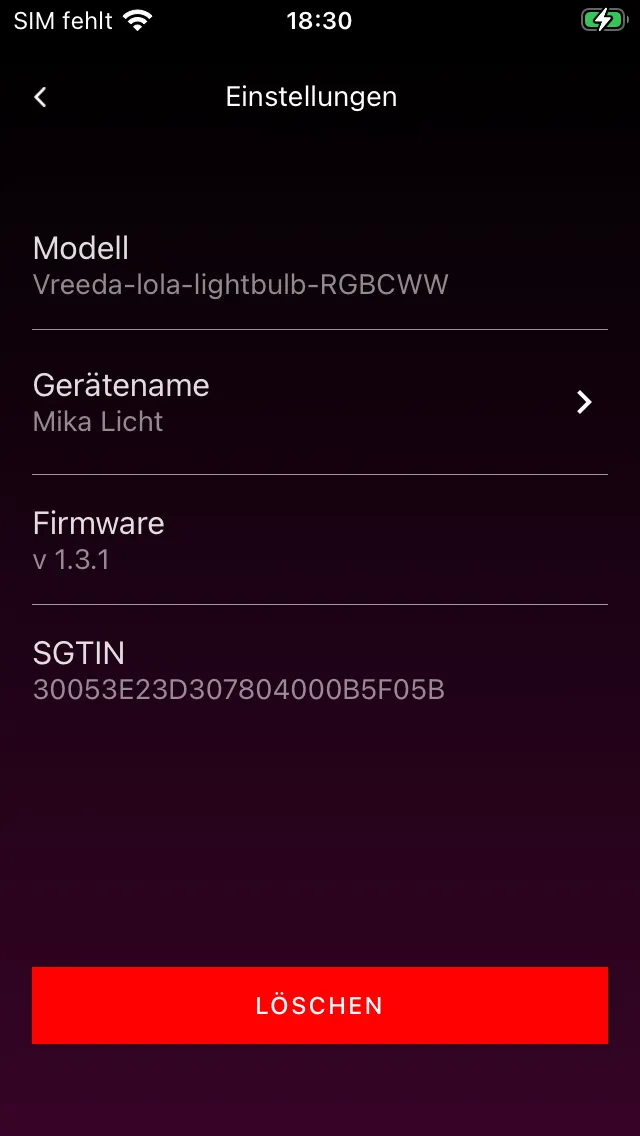
In the settings you can see the model, the current device name, the firmware version and the SGTIN of your lamp. Tap the Device name row to change it.
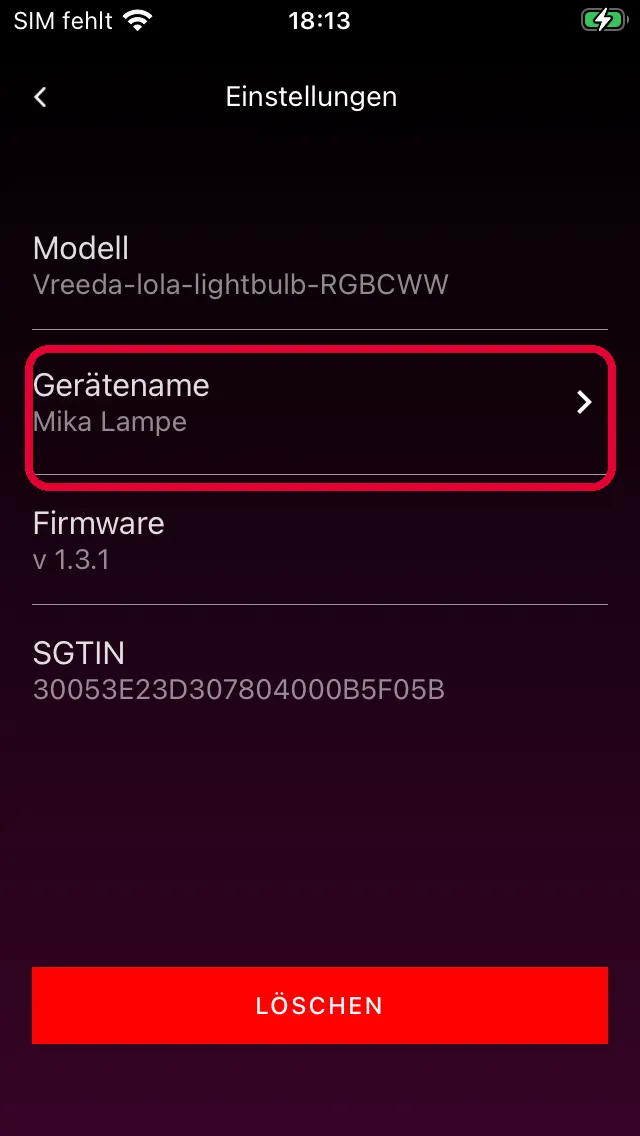
4. Enter the new name
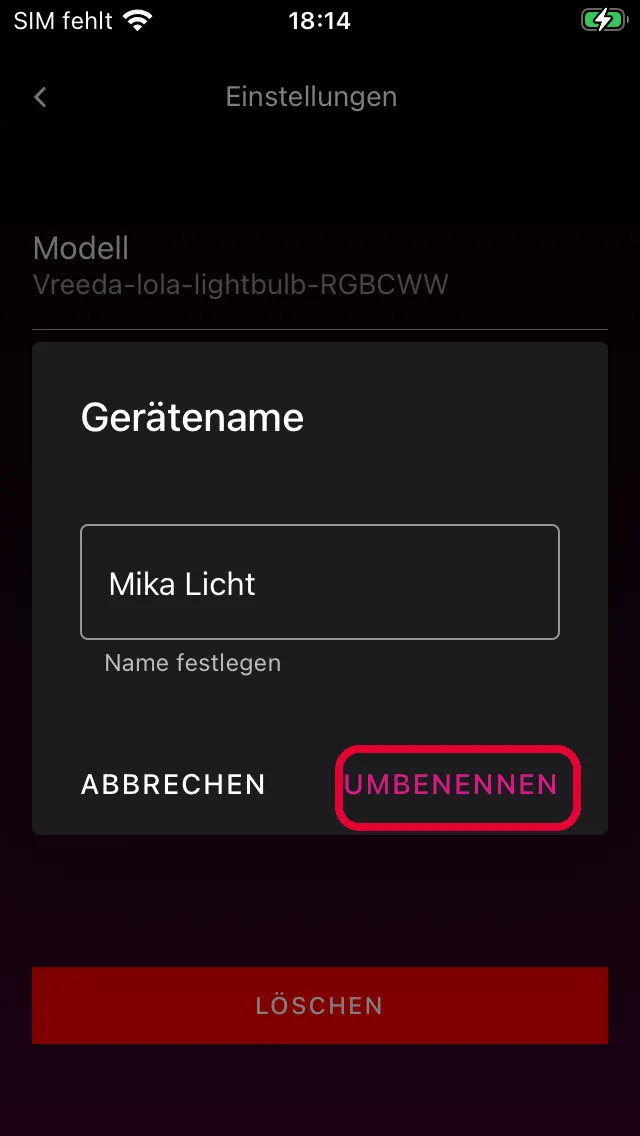
A dialog with an input field opens. Enter the new name and tap RENAME. Tap CANCEL to discard the change.
5. Done
The new name is immediately applied in your device overview.
Delete a device {#delete-device}
If you no longer need a lamp or want to add it again somewhere else, you can remove it from the app:
Caution: Deleting removes all settings and assignments of the lamp. You can add it again later – but the setup process will start from the beginning (see Add a new device).
1. Open the lamp
Tap the lamp you want to delete in the My Lamps device overview.
2. Open settings
In the detail view, tap the gear icon in the top right to open the device settings.
3. Tap the delete button
At the bottom of the settings you will find the red DELETE button. Tap it.
4. Confirm deletion
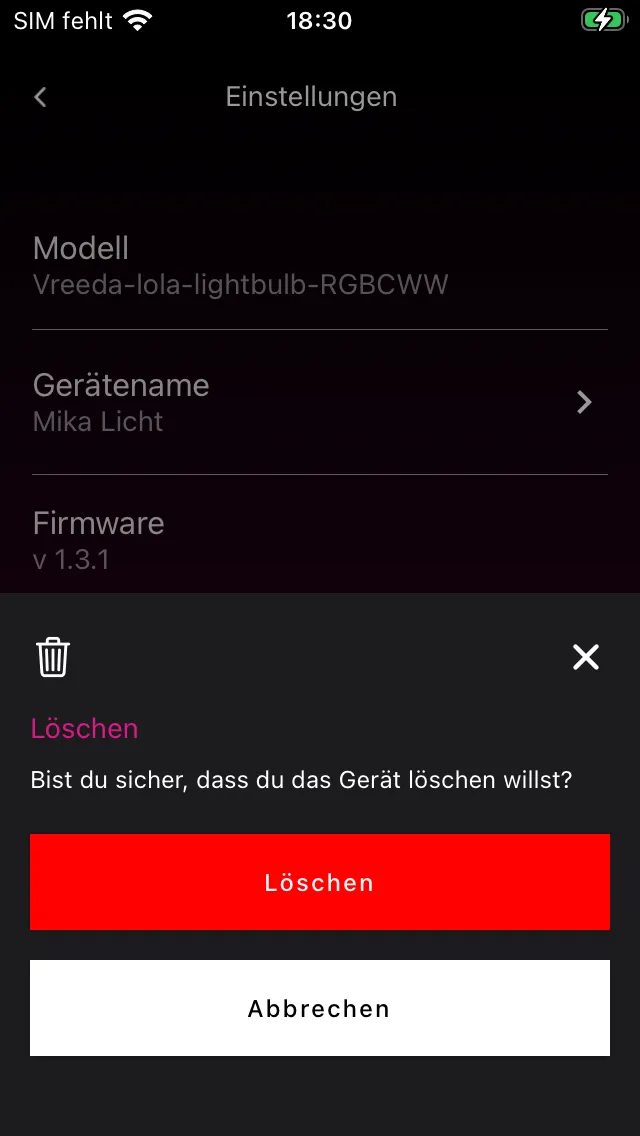
A confirmation dialog opens asking “Are you sure you want to delete the device?”. Tap Delete to permanently remove the lamp. Tap Cancel or the X in the top right to go back without making any changes.
5. Done
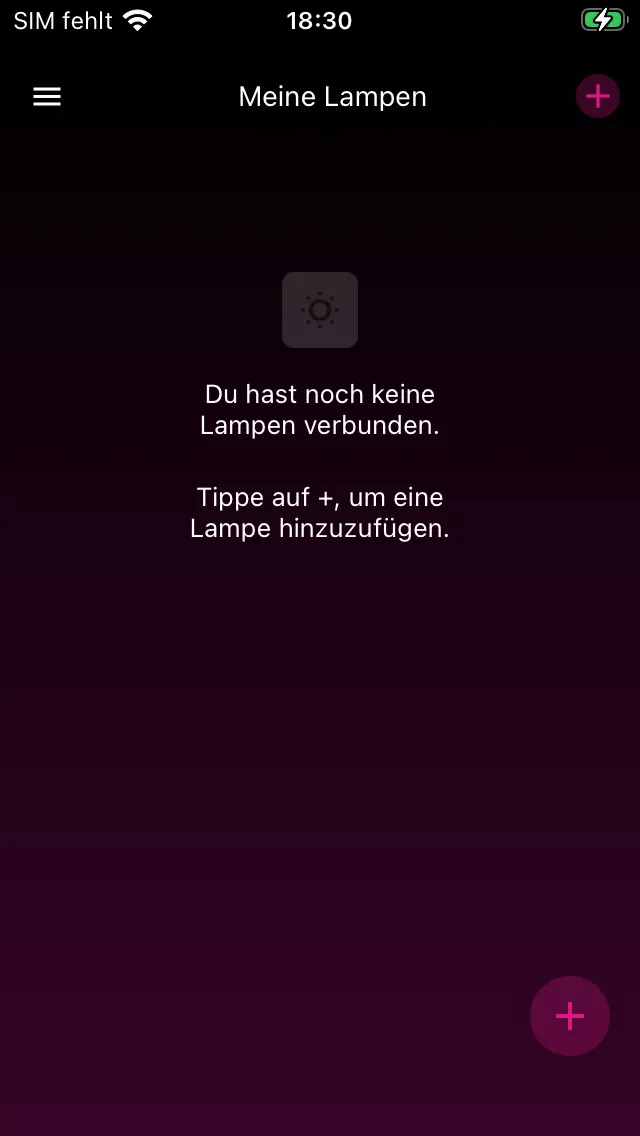
The lamp has now been removed from your app. If you have no other lamps added, the app shows you an empty device overview with a hint to add a new lamp via the ”+”.
Still have questions?
We're happy to help — create a support ticket or send us an email.